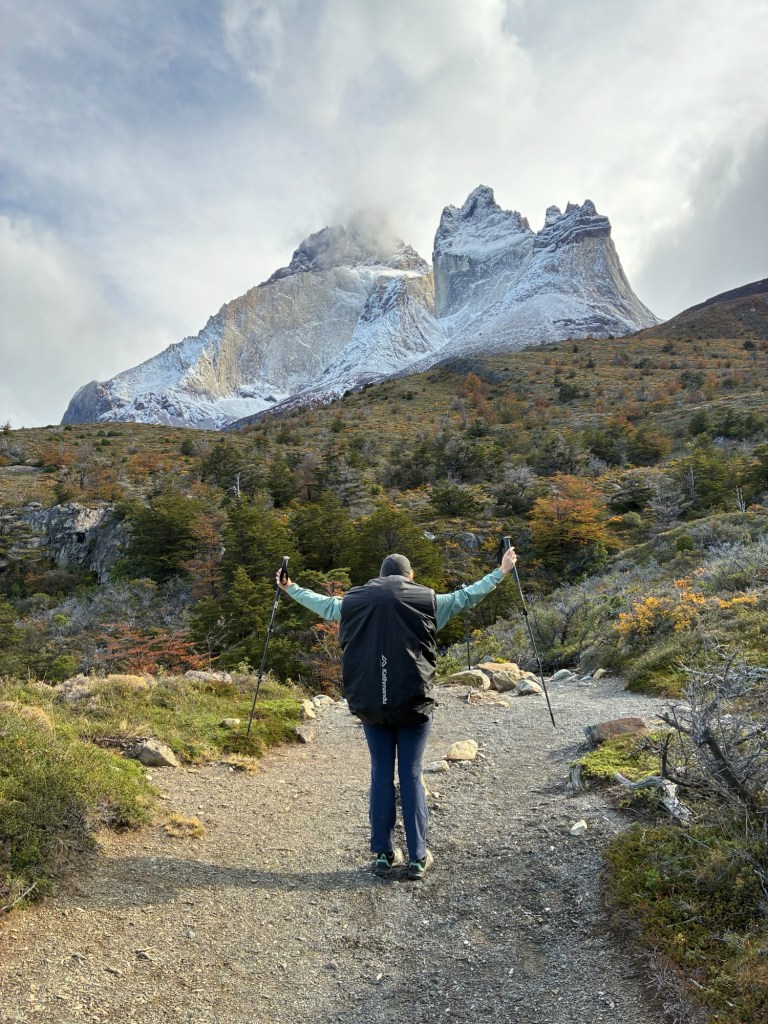
2 weeks ago I completed the most incredible -yet accessible- hike and spent 5 days camping out in breathtaking nature. This is all my thoughts and information on the W trek in Patagonia, Chile.
Logistics
I hiked this self guided with a group of 6; my sister and some friends. Some of us were avid hikers and for some people this was their first or second big multi-day hike. In terms of doing this hike self guided I’d say it was relatively easy, trails were clearly marked and there were also lots of people to ask or follow.
This hike can be done in two directions, east to west or west to east, and sections of it can even be done in day trips! We went east to west, a decision that was mostly based on availability of campsites.
Day by day breakdown
Day 1
Bus from Puerto Natales to Laguna Amarga. We got the 7am bus to give us enough time for our first big day.
You then get a shuttle into the park (5,000 pesos in cash each).
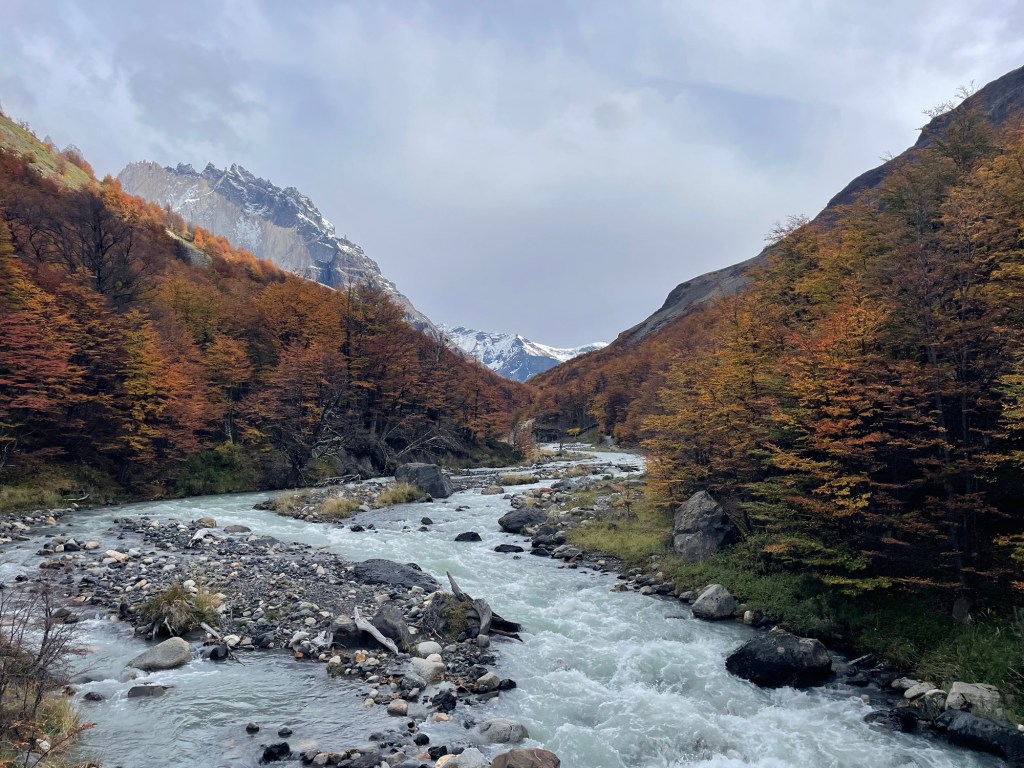
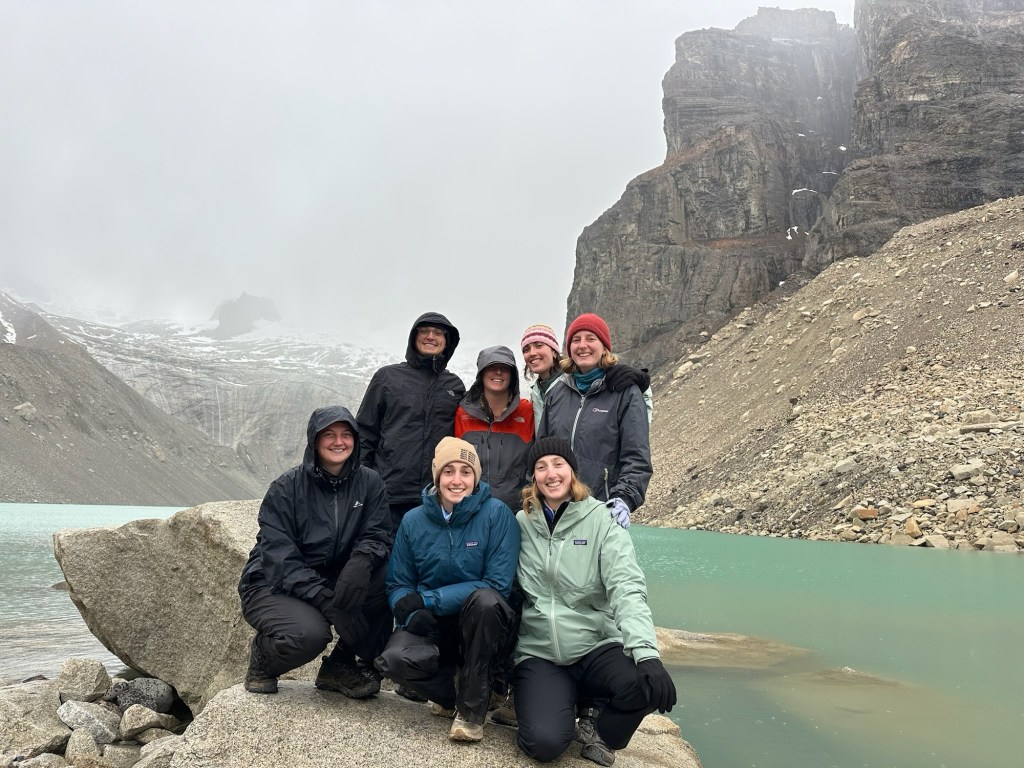
We stayed at Central, so dropped our big bags off at the campsite (10 minute walk) and then hiked with just our day bags. We hiked 2 hours to Chileno another option to camp but it was sold out. It’s another 2 hours up to the towers which unfortunately for us were clouded over when we arrived. However, we had absolutely stunning weather the whole day and beautiful views of the valleys and hills covered in reds and oranges of malting trees, so I think it was fair.
22kms today.
Day 2
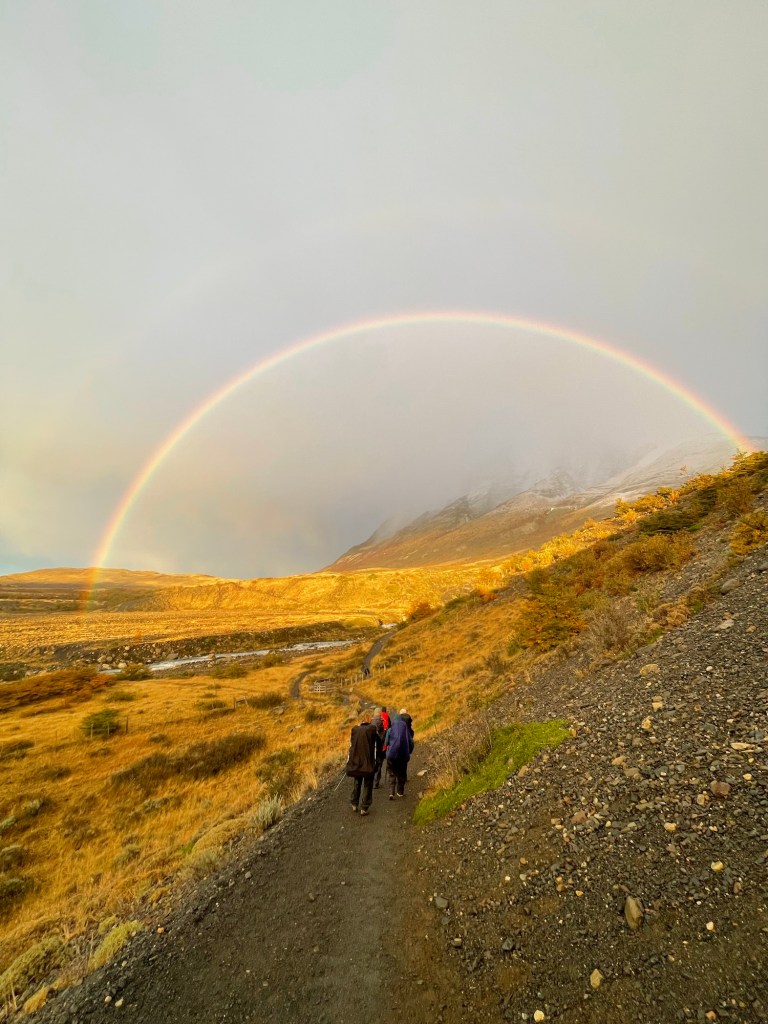
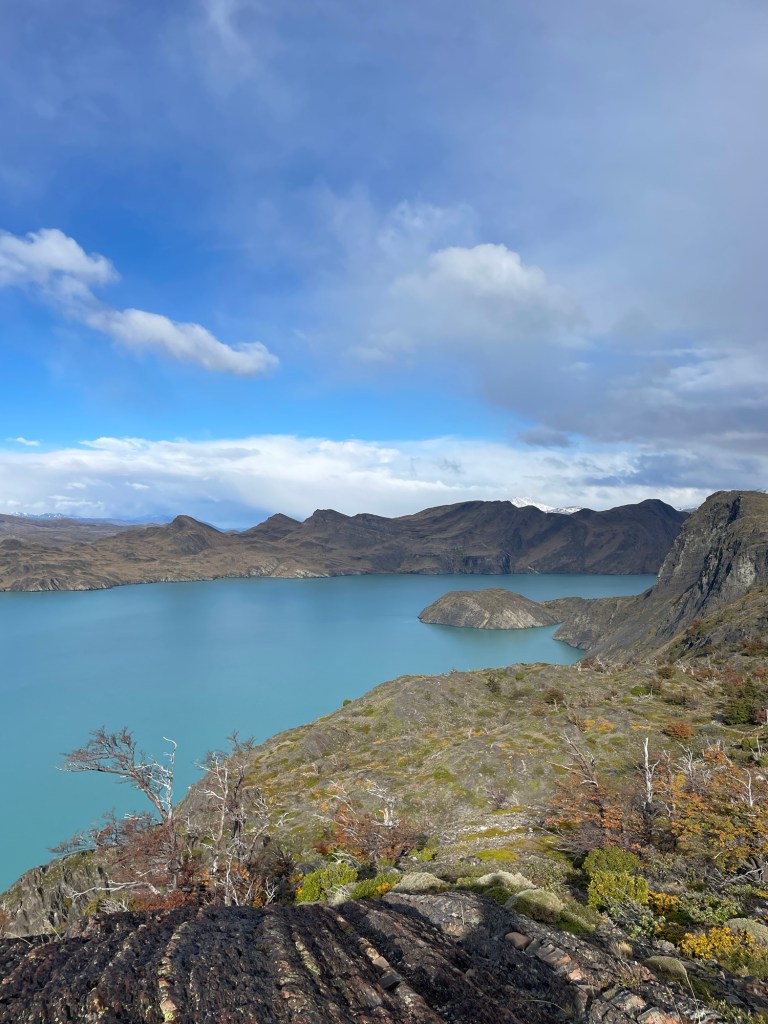
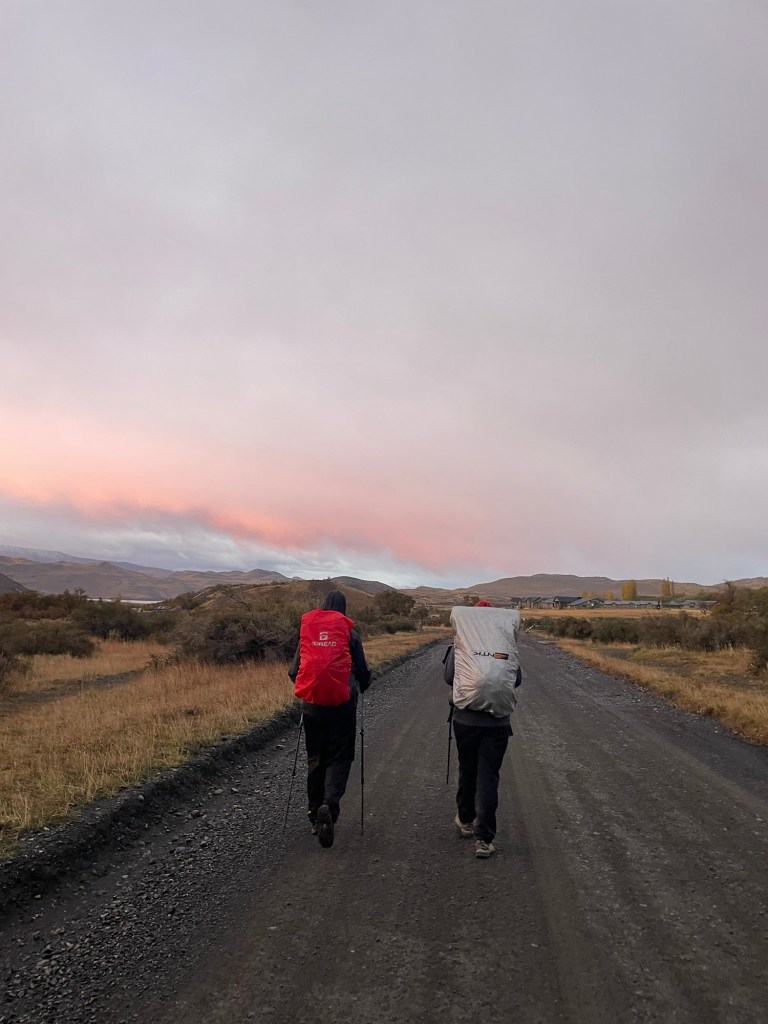
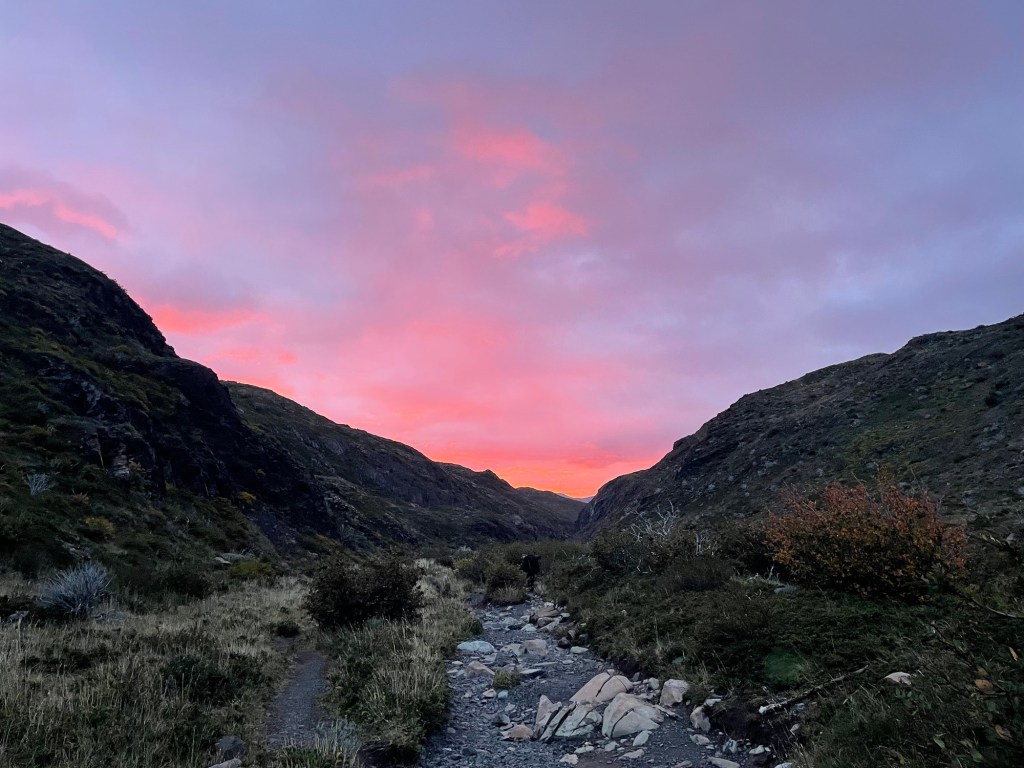
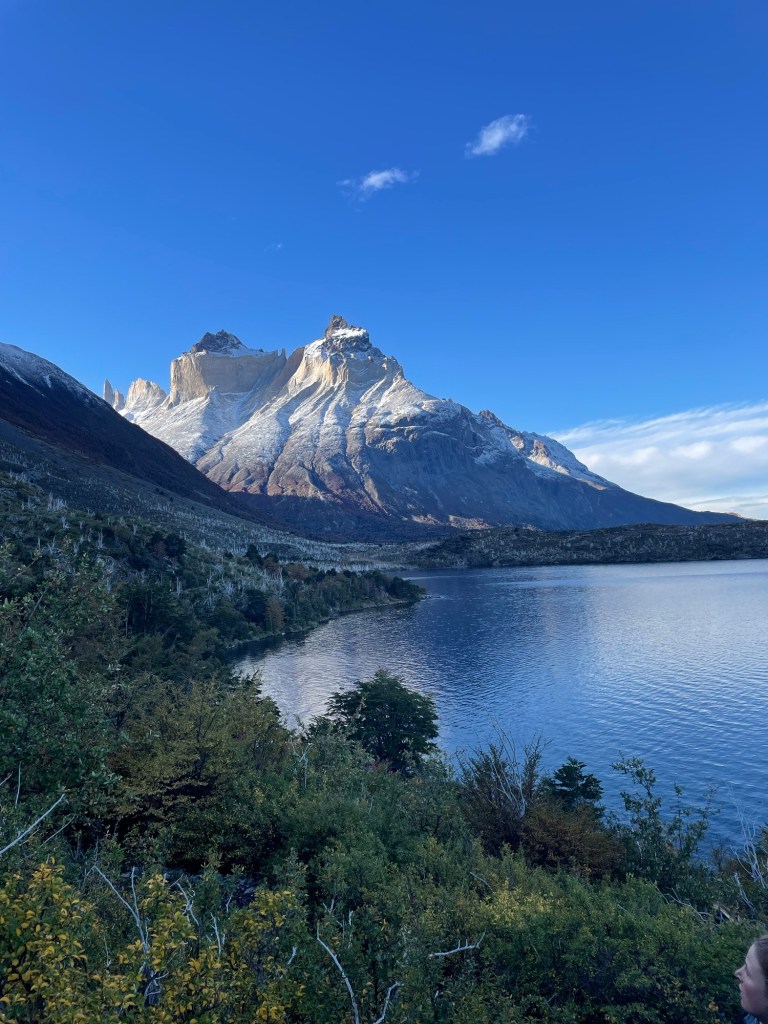
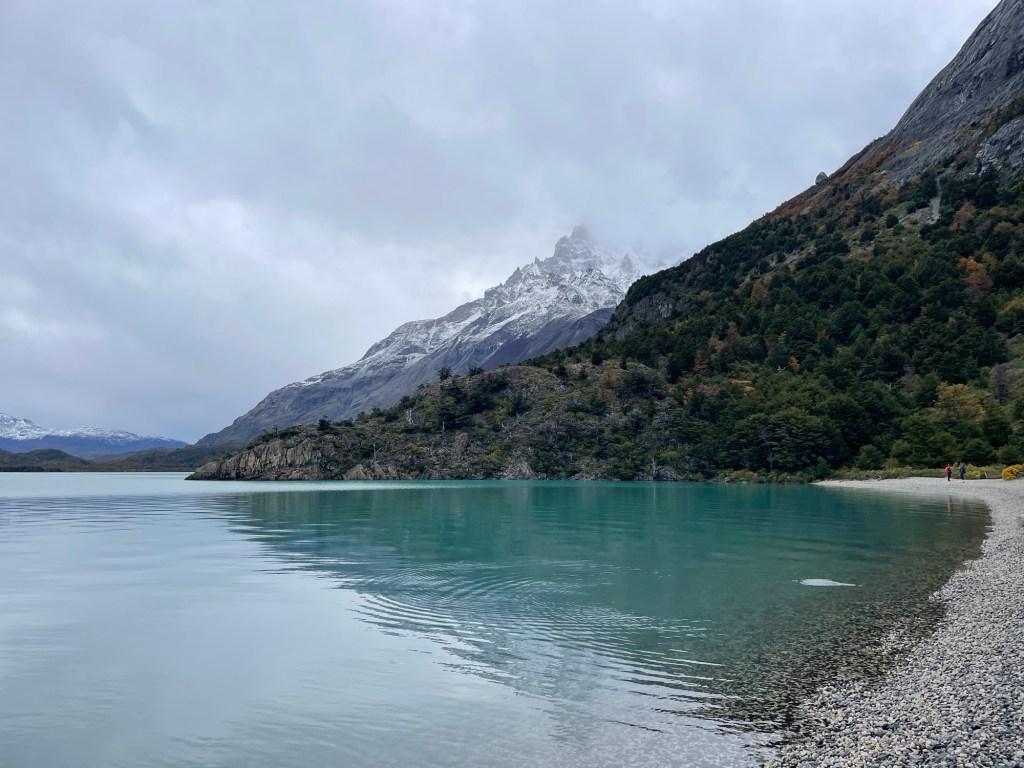
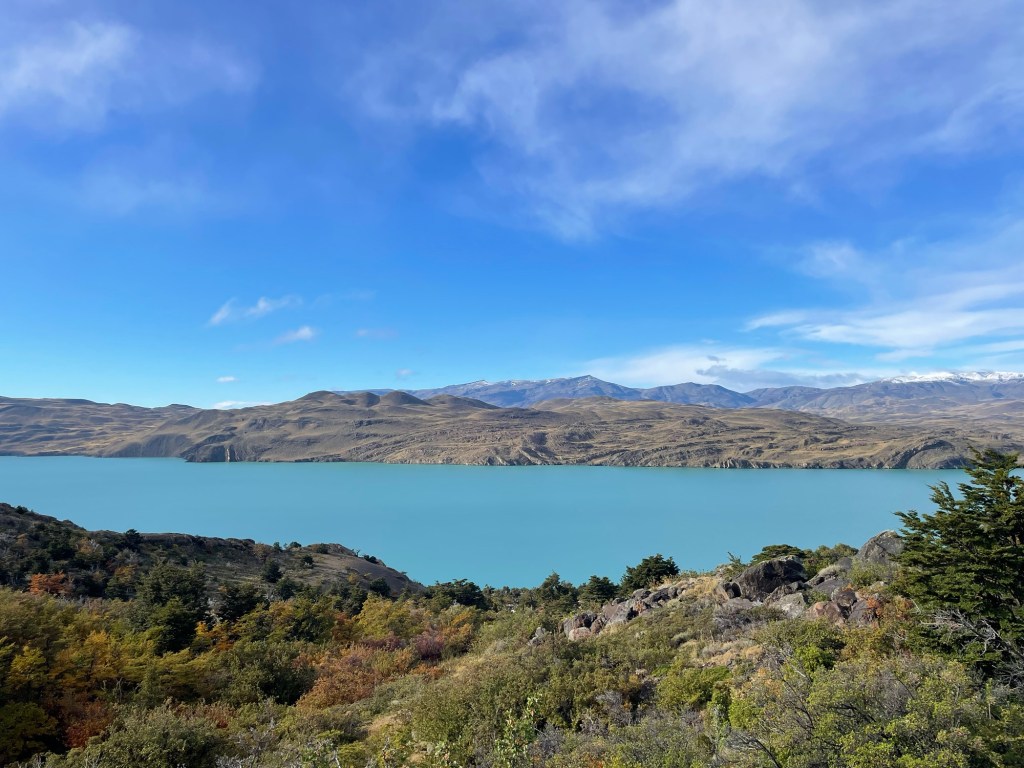
An early start meant an incredible pink sunrise as we set off for the morning, and we were also treated to a massive double rainbow! Big bags were back on as we walked to Frances campsite today and it only rained lightly for about the first hour till we hit the lakes. This is a more chill day as it’s relatively flat and most of the hike hugs some stunning lakes with incredibly blue water. You will have to hike up a bit of a steep hill halfway through, but at the top is a great (but slightly windy) place for lunch! Constant views of the snow topped mountains.
18kms today.
Day 3
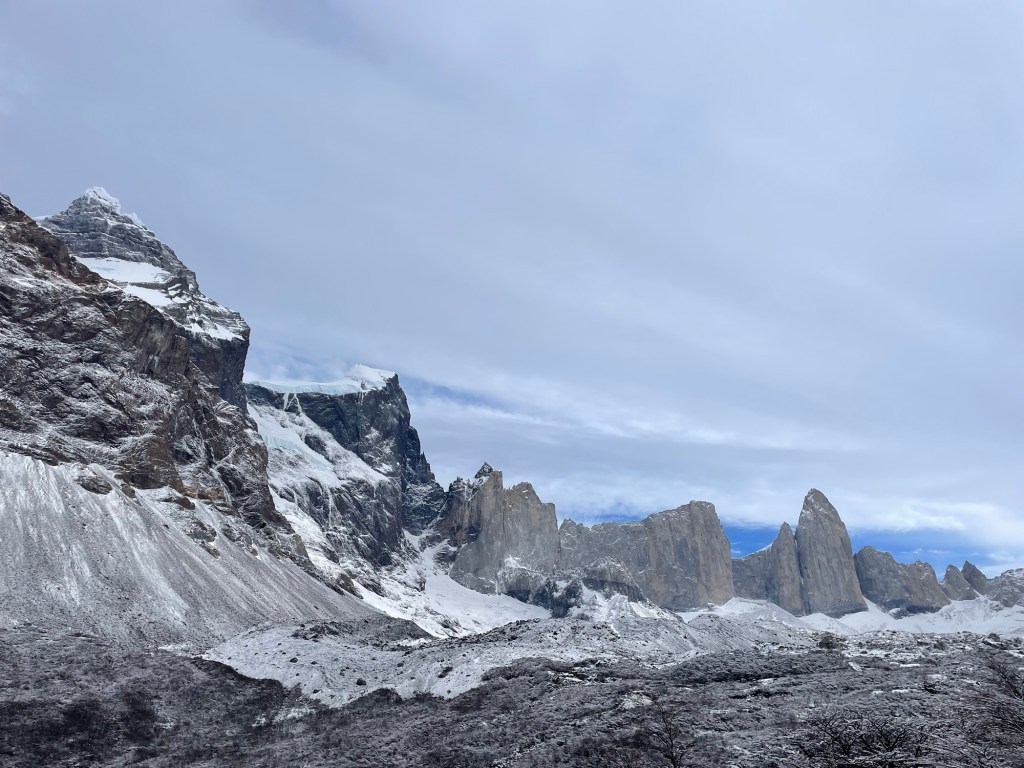
This was my favourite day! It’s a short 45 minute walk from Frances to Italiano where you can leave your big bags. Then you start the 2nd big out and back of the W. It’s mostly uphill but at a low incline and walking through a snow covered forest was magical and made the time pass quickly. The views from the end of the trail here were insane!! Perched on top of a rock you got 360 degree views of snow capped mountains and another perfect spot to eat lunch.
It’s still quite a hike from Italiano to Paine Grande (this nights accom), and I think it took us about 4 hours which was a bit of a slog and we were very happy to see camp. a cosy indoor area with a fireplace to hang out in and a big shop just in case you need a sweet treat as a reward.
23kms today
Day 4
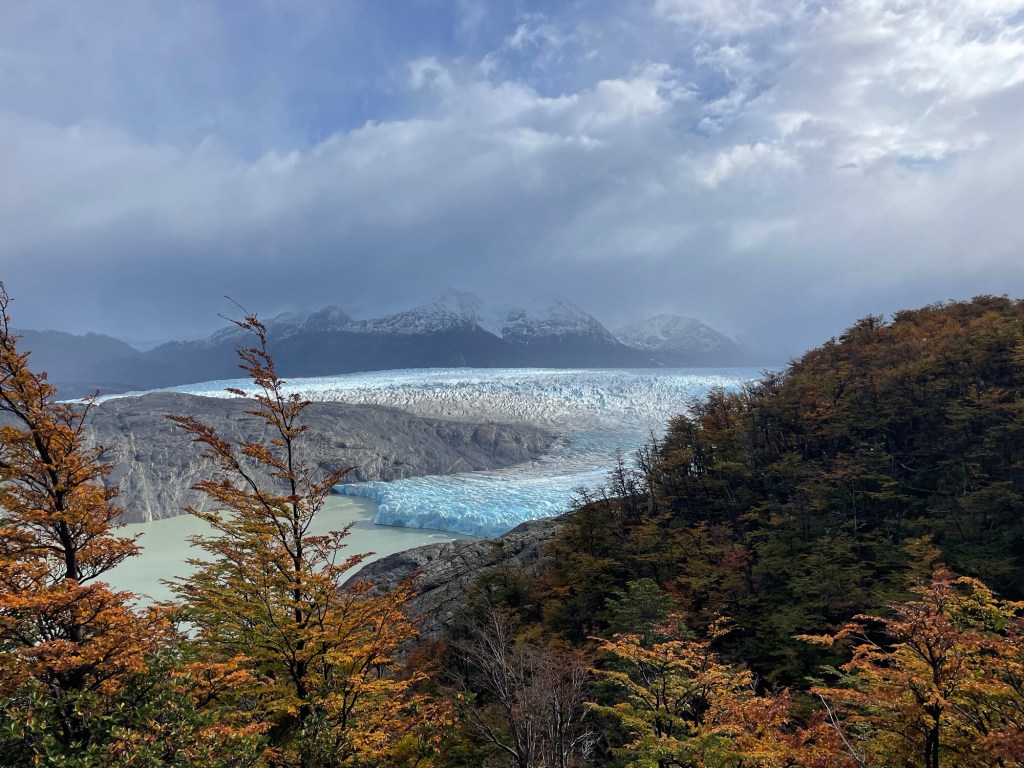
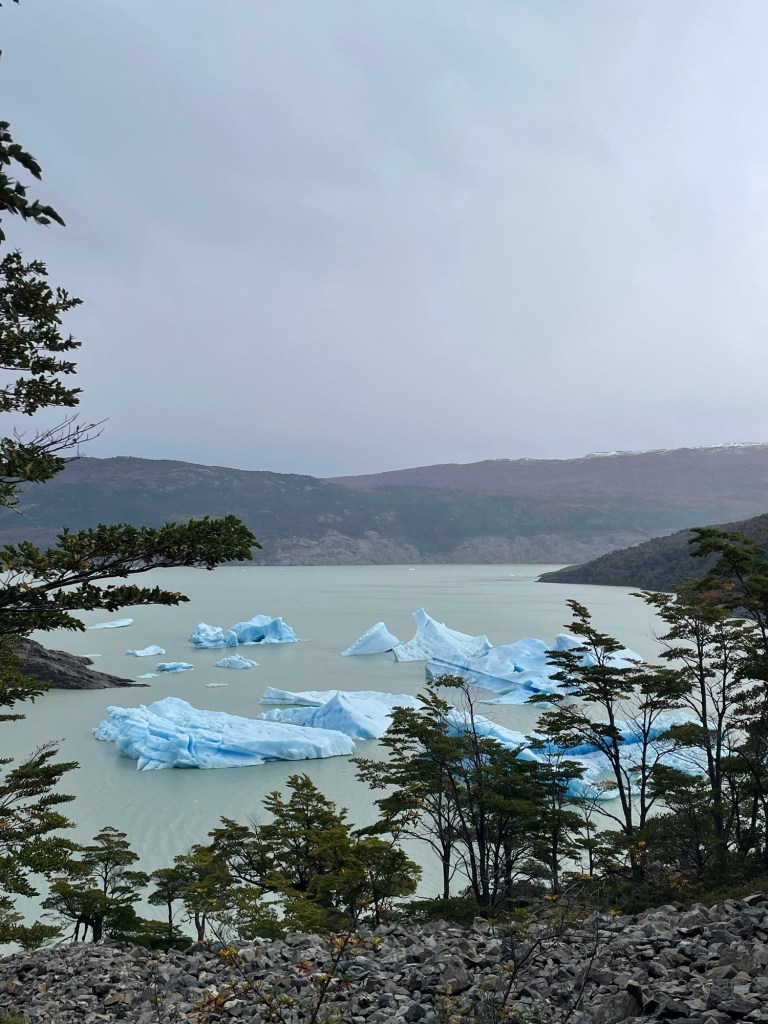
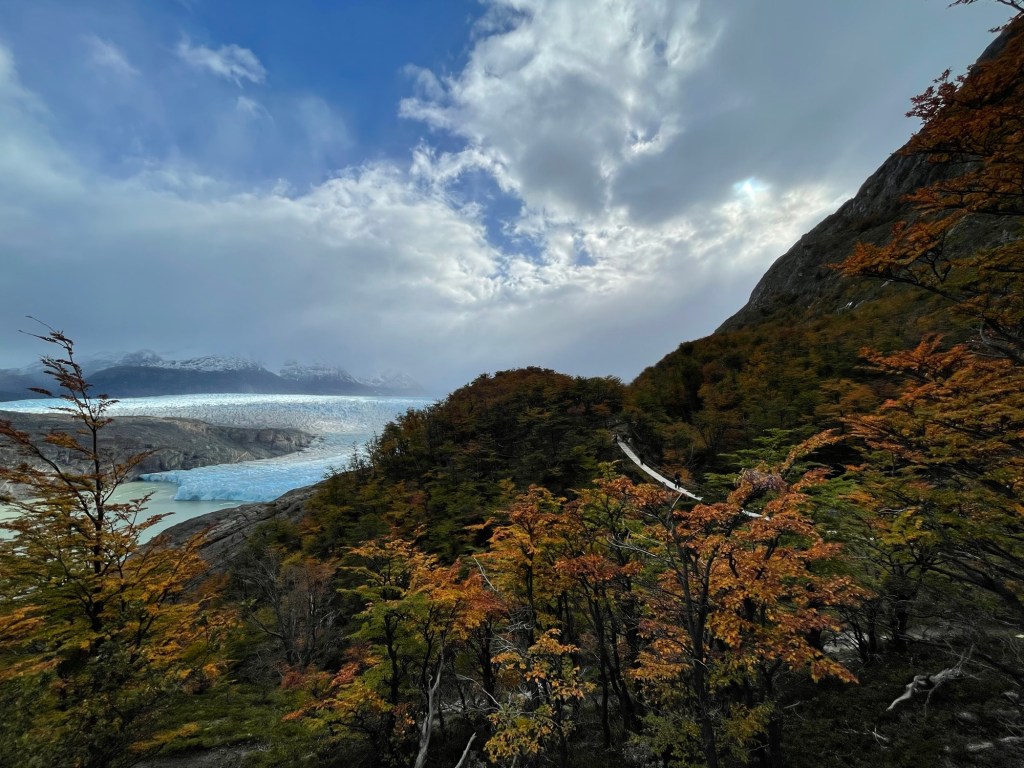
Today is the day you’ll see a glacier! Another early rise this morning, starting with the soft pink glow of sunrise behind you which will give you enough time to enjoy the glacier. This mornings hike is from Paine Grande to Grey (we stayed here this night) where you can drop your big bags off and just take your day bag (and hiking poles!). We accidentally detoured to a kayaking company down on the water which was an extra 20mins but nice to get right up to the water and even touch a chunk of iceberg! The actual hike to see the glacier has 2 suspension bridges along the way; and I highly recommend going just past the 2nd one to the lookout as you get a much closer view of it! Very steep descent on the way back so give your knees plenty of breaks!
Great cosy indoor area at Grey to grab a beer and play some cards over dinner.
20kms today.
Day 5
It’s an early wake up today for a 7am start which gives you enough time to make it back to the 11:20am ferry from Paine Grande. Have a strong head torch because you’ll be walking for about an hour in the dark trying to dodge puddles and rocks. This day was also our windiest as we got closer to Paine Grande so I’d recommend taking your pack covers off as we had to chase after some of ours!
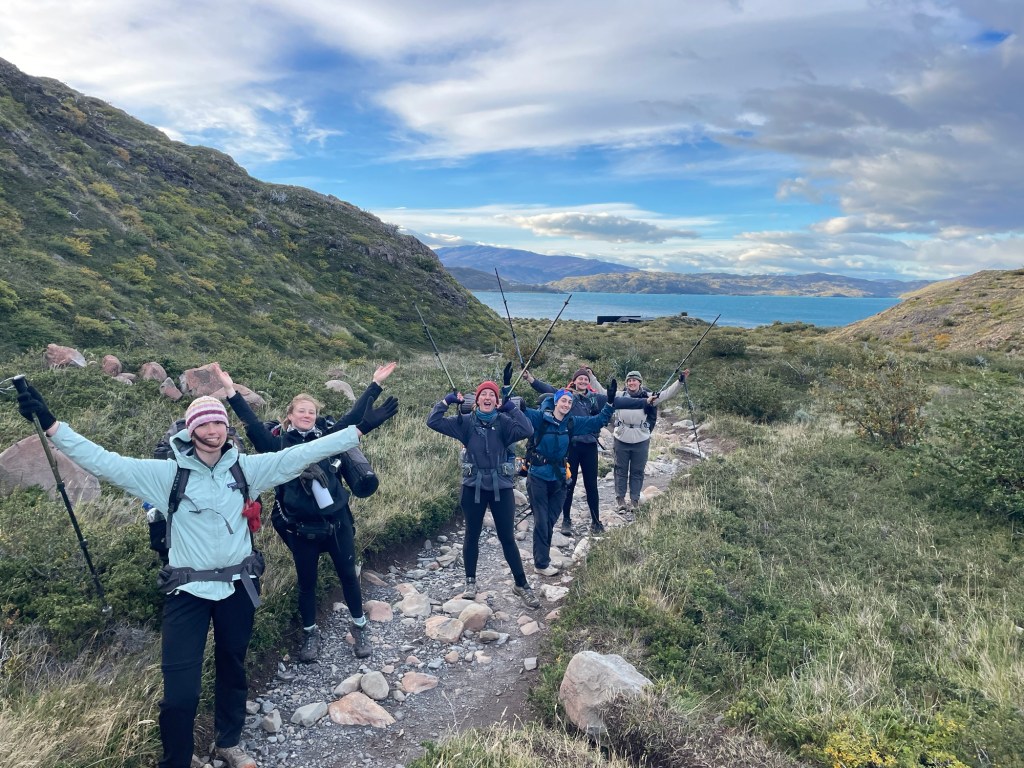
Take some time to celebrate finishing the w trek and then hop in the ferry. This is a beautiful boat ride that drops you off at Pudeto and a nice way to finish.
You will then have to wait around for a couple of hours at the lakeside, but you can treat yourself to a burger and a beer at the cafe. The bus then comes at 2:30 to Pudeto and drops you back at puerto Natales at about 4:30/5 which will give you enough time to drop all your rental gear back, have a hot shower, and go out for dinner!
11kms today.
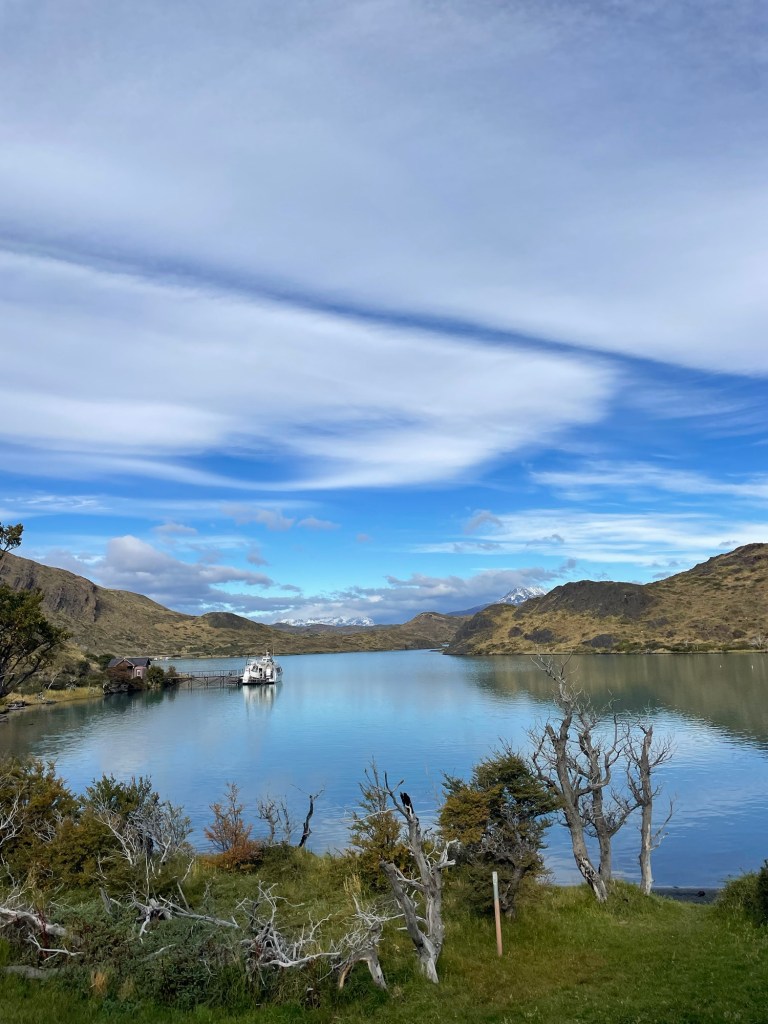
Overall my w trek was a total of 94kms! A bit more than the 75 they advertised but honestly worth every step!
Time of year
We went in April (16-20th) which was right at the start of rainy season and just before a lot of the accomodations and trails closed. We were very lucky, but you do have to gamble with the weather, so slightly earlier would probably be your safest bet.
Getting the gear
We rented everything in Puerto Natales from a lot of different shops so here’s what I recommend:
- get the lowest rated sleeping bag, you’ll want the -15 degrees ones, and most shops only seemed to have the -10 degrees readily available. So we splurged on sleeping bags from Rental Natales. They were more expensive, but definitely worth the extra money.
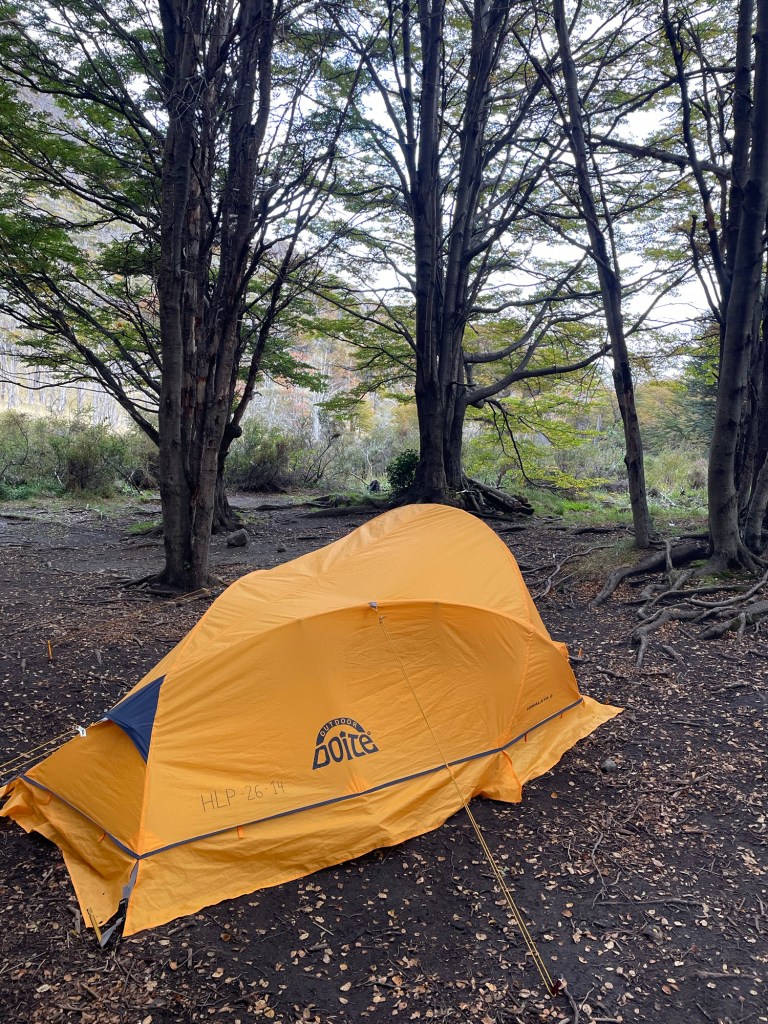
- For most of our other gear we went to Lili Patagonicos which was recommended for its quality, and here we got tents, sleeping mats and hiking poles. (This is also a hostel).
- For some small stuff like buying collapsible bowls, head torches and small camping gear we went to Rental Equipment Theresa. They were a little more casual and in a sense slightly unorganised, but definitely the best price.
Food
In an attempt to do the w trek as cheaply as possible, we brought all our own food with us. All campsites had free boiling water so we organised our meals around that. This also meant we didn’t need to take a stove or gas.
For breakfast we did DIY instant oats, with cinnamon, coconut flakes, milk powder, and chocolate chips/ chocolate powder. We bagged them up into individual plastic bags for each day.
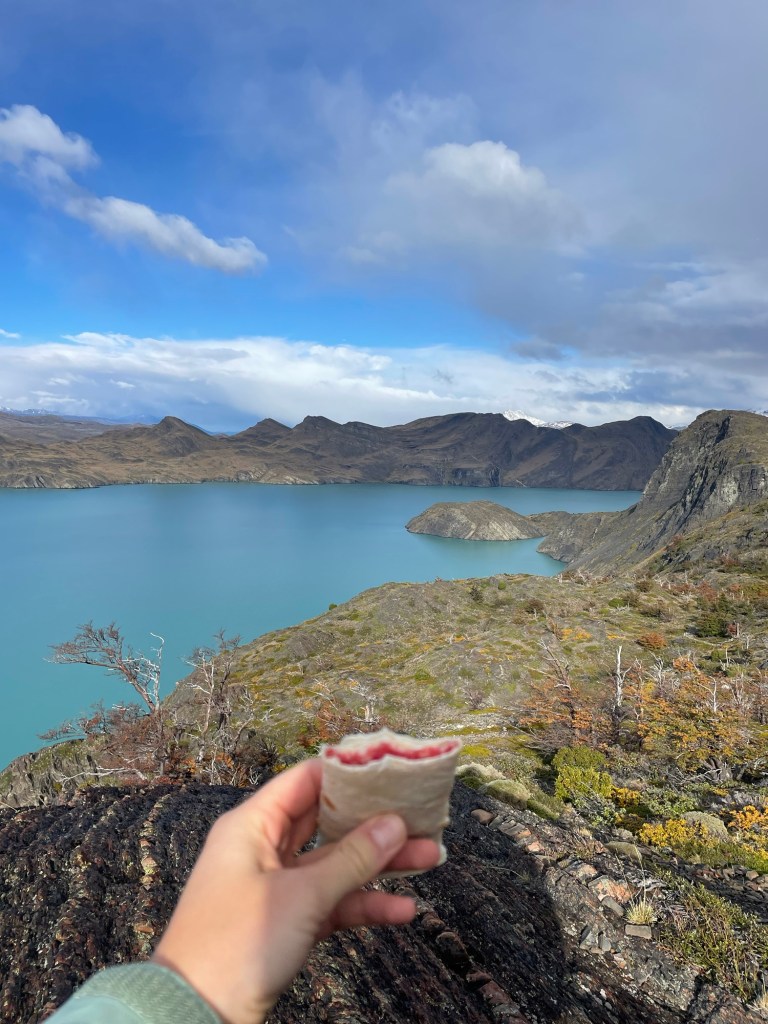
Lunch was cheese and salami wraps, slightly uninspired but good (we took tuna and avos on the Salkantay and couldn’t bear the thought of the extra weight on this one!) Our friend brought a bottle of siracha to spice it up and that was definitely a winner.
Dinners were freeze dried meals that we got from Kallpamayu/Day Zero. These were honestly great and kept dinner a bit novel with the different flavours.
Favourite flavour was definitely pollo con curry y arroz, and spag bol.
I would recommend getting the double portion or slightly bigger meals as we all could’ve easily eaten 2 meals most nights.
For a price comparison, buying the buffet dinner at Greys as a one off would have cost 47,000 Chilean pesos (almost the same as 4 of our freeze dried meals!)
*As of April 2026 you also could buy freeze dried meals at Central and Frances (for the same price as we bought them in town) but not at Grey or Paine Grande.
Snacks are also a must to power you up the hill, and I highly recommend the sour loops!
Water was also available from each Refugio and some of us even filled up from the streams.
Other tips:
- shout out to my sister Liv for her slogan “be bold, start cold” this proved true each morning, 10 minutes in, layers started coming off, normally a tshirt and rain jacket was the best combo with an easily removable beanie or buff.
- Take poles. Even if you’ve never hiked with poles, there are a lot of downhills and they will save your knees. Mine also got a lot of use out of them as I balanced on logs over muddy puddles.
- Hike in whatever shoes you’re most comfortable in. People in our group lined in trail runners, hiking shoes and hiking boots, granted we didn’t get a lot of rain, but if you have good ankles most shoes will work.
- There were hot showers at all Refugio’s and some pretty nice facilities and areas to hang out in. But you will have to do some bush wees as there aren’t toilets on the trail.
- I would recommend paying for the offline version of AllTrails so that you always have a map with you.
Happy hiking!


Leave a Reply